
In comes a faux finish that resembles granite. I have to say that it looks pretty danged good. Now, I have to preface that by saying, Mr. Hollybroke is not the most creative/crafty man, but we put him in charge anyway to do the "painting". It looks awesome. I'll quickly go through the steps, because if you think you can't do this, you absolutely CAN. If my husband can do it, then anyone can (not to say he doesn't have talents elsewhere, just not when it comes to crafty home projects).
Here's what he did:
Supplies
Granite kit (see below)
Counter top
Scrap Cardboard
600 grit sandpaper (painting section of the store)
Papertowels or a rag
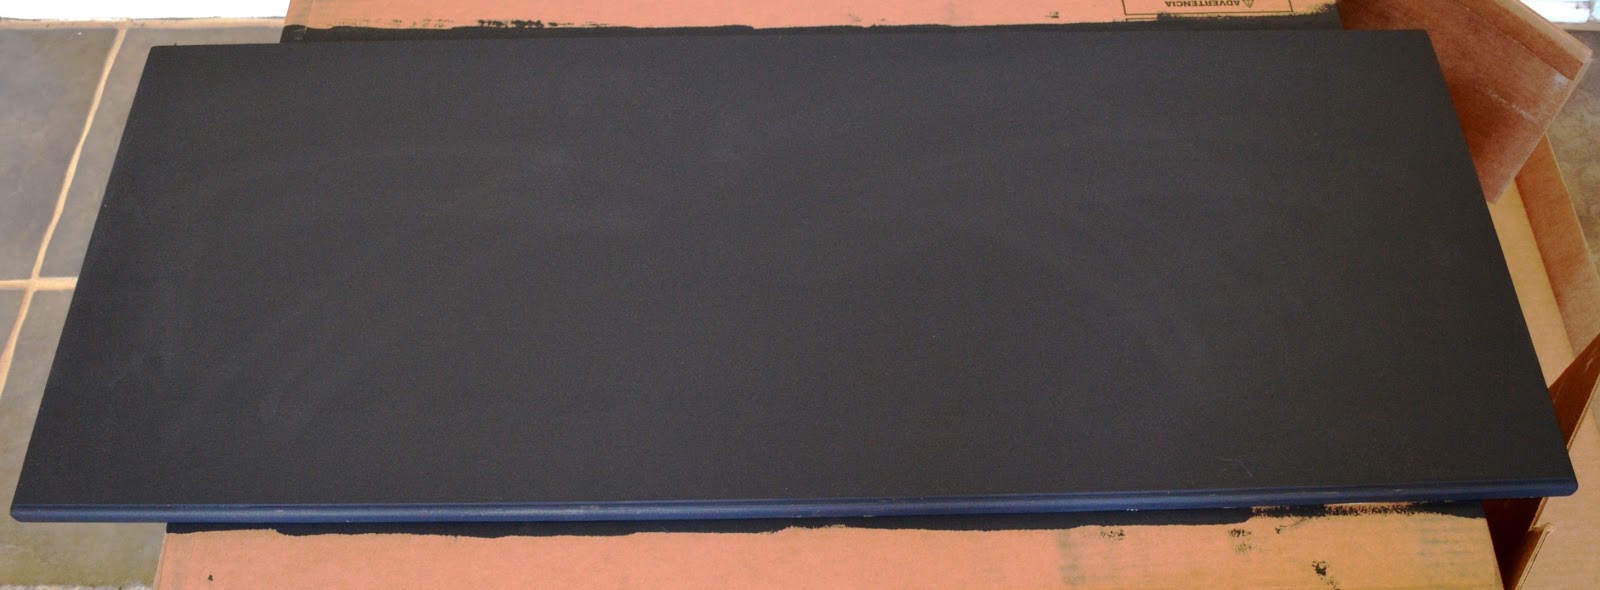
1. Get a counter top that you want to paint (wipe with water to make sure it's clean).

2. Buy this : Giani White Diamond Granite Paint Kit for Countertops - it seems pricey, but if you compare it to the cost of a granite counter top, even one this small, it's negligible.
3. Prime the counter top with the primer and primer brush (if your wood is not pre-finished then you must sand it first to get it smooth). Let this dry.
4. Lightly sand with 600 grit sandpaper, wipe clean
4. Take the provided sea sponge and get it good and wet, then squeeze it out and let it dry.
A. Practice the dotting/spotting on a piece of cardboard to get a feel for the paint.
5. Apply the various colors included in the order that they are numbered...unfortunately Mr. Hollybroke didn't take a picture between each color, but they provide you with a sea sponge and paint that is numbered. You must sand with the 600 grit sandpaper between each coat and remember to wipe it clean.

6. Apply the clear coat.
7. Sand with 600 grit sandpaper.
8. Repeat steps 6 & 7, two MORE times. Your final sanding is very light.

Tips
- Make sure to get around all the edges
- When you wipe the sanding off, use some water to pick up debris
- Once you start priming or clear coating, do not stop because it dries quickly
- Be patient with the stippling and the drying, it will be worth it
Here's the hutch in all her glory (and filled up with our stuff):

No comments:
Post a Comment